Convert, edit, and compress videos/audios in 1000+ formats with high quality.

How to Easily Flip Your Video in Adobe Premiere Pro

Posted by Aira Lesly Escoto to Edit Video/Audio Jun 13, 2025
Flipping a video in Adobe Premiere Pro can be a useful technique for correcting orientation, creating mirror effects, or enhancing visual storytelling. Whether you need to flip an entire video or just a portion of it, Premiere Pro provides simple yet powerful tools to achieve this. This guide will walk you through everything you need to know about flipping videos, from essential settings to step-by-step instructions.
Guide List
Things You Need to Know Before Flipping a Video in Premiere How to Flip the Whole Video in Adobe Premiere Pro How to Flip a Part of Your Video in Adobe Premiere Pro The Hassle-Free Way to Flip a Video at Any AngleThings You Need to Know Before Flipping a Video in Premiere
Before you flip a video in Adobe Premiere Pro, there are a few key things you should know. By understanding these key aspects, you can effectively flip a video in Premiere Pro while maintaining professional quality results to ensure the best results:
1. Horizontal/Vertical Flip
Generally speaking, when you flip a video in Adobe Premiere Pro, there are two most basic options for you to choose from. The first is horizontal flip, which creates a mirror effect by flipping the video from left to right. The other is vertical flip, which means you can flip the video from top to bottom. These effects are very useful for correcting reverse shots or achieving creative visual effects.
2. Effect Panel Use
If your goal is to do the simplest horizontal flip or vertical inversion of the video, then you can directly apply the flip effect using the Effect Panel under Transform Effect, which is provided by default in your menu by Adobe Premiere Pro. In it, you can use the horizontal flip or vertical flip effect to adjust the video instantly.
3. Text and Logos
If your video contains some content that needs to be recognized, such as text or logos, then the devil flip video may mirror the text and logo at the same time, making them unreadable. You may need to adjust the text layer individually or remove the watermarks and logos from videos to exclude certain elements from being flipped.
4. Visual Effect Considerations
For your video, when you flip the video at a large angle, the basic visual composition will undoubtedly change significantly, especially in scenes that move from left to right. So before flipping videos in Adobe Premiere Pro and saving them, be sure to preview these changes to maintain a natural and balanced look.
How to Flip the Whole Video in Adobe Premiere Pro
Flipping an entire video in Adobe Premiere Pro is a simple process that can help correct inverted footage, create a mirrored effect, or add a unique artistic touch. Whether you need to flip a video horizontally to fix an inverted perspective, or flip it vertically to create an upside-down effect, Premiere Pro provides built-in tools to make it easy. Follow the guide below to flip your video quickly and efficiently while maintaining high-quality results.
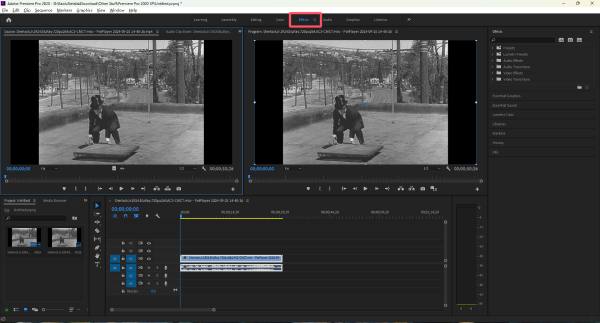
Step 1Launch Adobe Premiere Pro on your computer and import the video file. Click the “Effect” button.
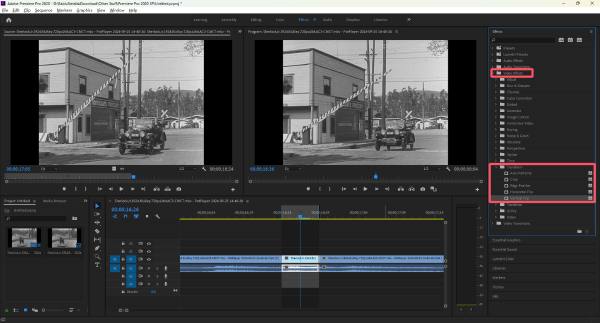
Step 2Navigate to the “Transform” tab, click the “Horizontal Flip” button or the “Vertical Flip” button.

Step 3Click and drag the chosen flip effect onto your video file in the timeline to flip the video in Adobe Premiere Pro.

How to Flip a Part of Your Video in Adobe Premiere Pro
Sometimes, you may not need to flip the entire video, but only a specific part for creative or correction purposes. Adobe Premiere Pro allows you to apply the flip effect to a selected portion of a clip or shot without affecting the rest of the video. By using keyframes and adjustment layers, you can precisely control when and where the flip effect is applied. When you actually do it, you may find it inconvenient. You can follow the steps below to flip a portion of a video while keeping the rest of the edit intact.
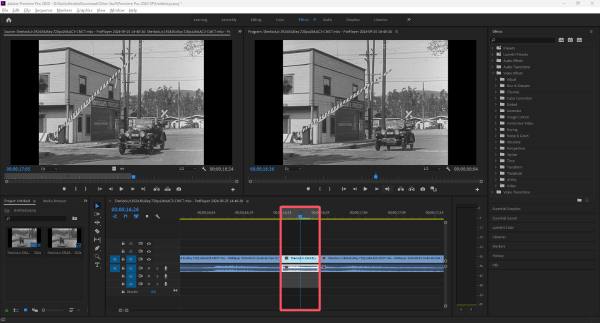
Step 1Press the “C” key to select the “Razor” tool. In the timeline, click to choose the start point for flipping the video.
Step 2
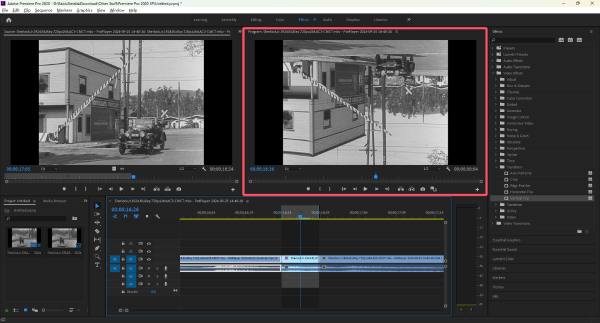
Step 3Finally, click and drag the Flip effect to the exact segment of your video in the timeline.
The Hassle-Free Way to Flip a Video at Any Angle
If you’re looking for a quick and effortless way to flip a video at any angle without navigating complex settings in Adobe Premiere Pro, 4Easysoft Total Video Converter is an excellent alternative. This beginner-friendly tool allows you to flip videos horizontally or vertically with just a few clicks. Additionally, it provides rotation options, enabling you to rotate your video to any angle, such as 90, 180, or 270 degrees.
With 4Easysoft Total Video Converter, you don’t need to deal with a steep learning curve or time-consuming processes. Simply upload your video, you can easily convert and flip videos, preview the changes, and export your final video in high quality. It’s an ideal choice for those who want a fast, efficient, and hassle-free way to flip videos without professional editing software.
Directly flip your video without changing its quality.
Preview to see if your video is flipped properly.
Besides flipping, it also allows you crop the video.
Support flipping multiple video files at once to save time.
100% Secure
100% Secure
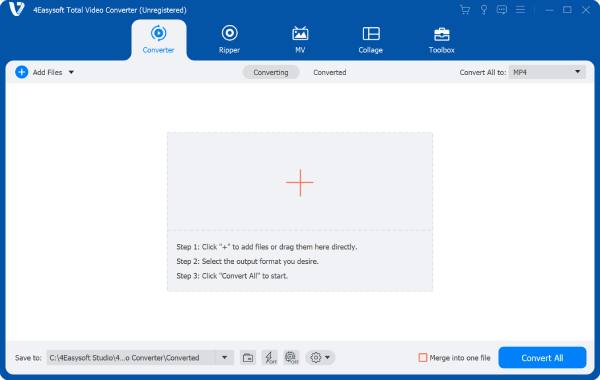
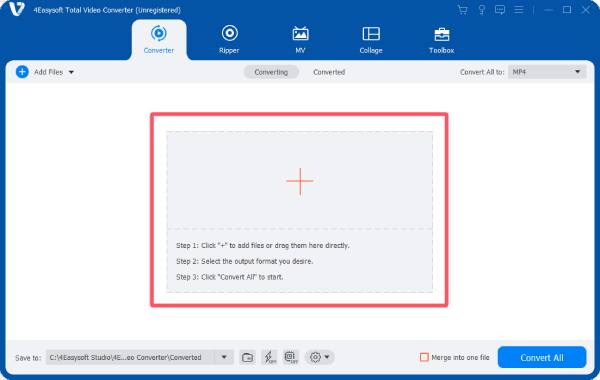
Step 1Launch 4Easysoft Total Video Converter and click the “Add Files” button to import your videos for flipping.
Step 2Click the “Edit” button. Under the “Rotate & Crop” tab, click to choose the way you want to flip your video.
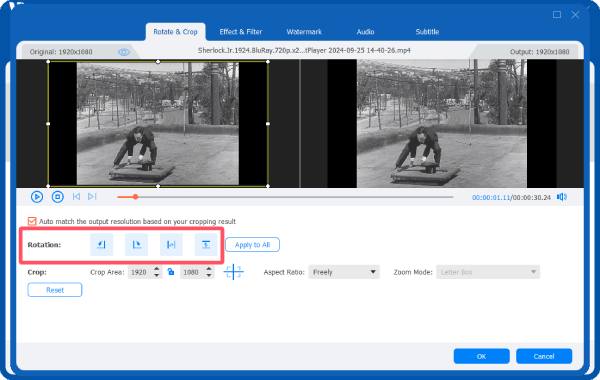
Step 3Click the “OK” button to apply the effect. Finally, click the “Convert All” button to save the video file.

Conclusion
Flipping a video in Adobe Premiere Pro is a simple yet powerful technique that can enhance your editing projects. Whether you need to flip an entire video or just a portion of it, Premiere Pro provides the necessary tools to get the job done efficiently. However, if you’re looking for a more straightforward solution without navigating complex editing settings, 4Easysoft Total Video Converter offers a quick and hassle-free alternative.
100% Secure
100% Secure