Record, edit, and share video from all sources.

Step-by-Step Guide to Taking High Resolution Screenshots

Posted by Ethan Brooke to Screenshot Jun 06, 2025
Capturing high-resolution screenshots is essential for presentations, tutorials, design work, and more. High-resolution screenshots ensure that every detail remains sharp, preventing pixelation or quality loss. However, not all screenshot methods produce high-quality results. This post will guide you through the best ways to take high-resolution screenshots on Windows and Mac, ensuring that your images retain maximum clarity.
Guide List
What Does a High-Resolution Screenshot Mean? How to Take High-Resolution Screenshots on Windows 10 & 11 How to Take High-Resolution Screenshots on Mac The Best Way to Take a High-Resolution ScreenshotsWhat Does a High-Resolution Screenshot Mean?
A high-resolution screenshot is one that captures an image from your screen with exceptional clarity, sharpness, and detail. The resolution of a screenshot is determined by the pixel size of the screen, meaning that the higher the resolution, the sharper the image and the more detail. For example, a screenshot taken on a 4K monitor (3840×2160 pixels) will have more detail than one taken on a 1080p screen (1920×1080 pixels).

High-resolution screenshots are essential for a variety of purposes, including professional presentations, design projects, and technical documentation. They ensure that small text, intricate details, and UI elements remain crisp when enlarged or resized. However, the quality of a screenshot depends on several factors, including screen resolution, display zoom settings, and the method used to capture the image.
To capture truly high-resolution screenshots, you must use the proper techniques and software to preserve pristine pixel quality. The following sections will explore the best ways to take high-resolution screenshots on different operating systems and provide tools to help you achieve the best image quality.
How to Take High-Resolution Screenshots on Windows 10 & 11
If you want to take high-resolution screenshots on Windows 10 & 11, the first thing you need to do is to adjust your screen resolution to the highest possible resolution so that you can capture screen activities. If you don’t know how to quickly adjust your screen resolution on your Windows 10 & 11, you can do it as follows:
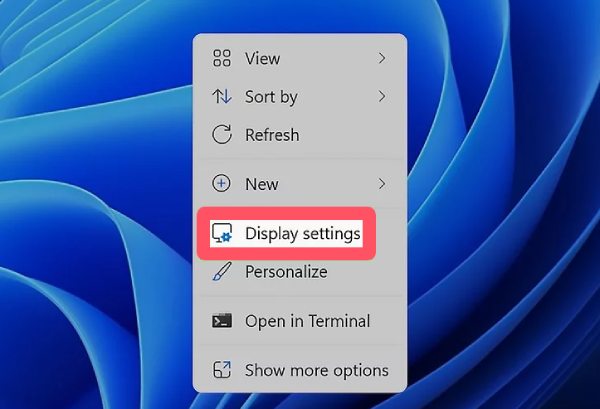
Step 1On the desktop, right-click to summon the menu, click the "Display settings" button.
Step 2Under the "Scale & layout" tab, click the "Display resolution" to select the highest possible resolution.

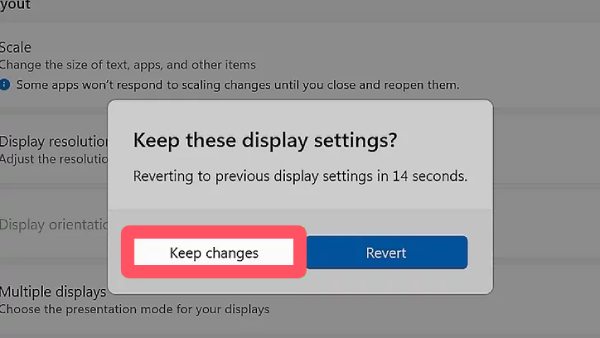
Step 3Now, the resolution will change automatically. Click the "Keep changes" button to confirm your adjustment.
Now, you can start taking high-resolution screenshots quickly. If you just need a simple screenshot, using the shortcut to summon the snipping tool in Windows 10 & 11 can also meet your needs to a certain extent. Although you may find that its functions are relatively limited, such as clarity adjustment and post-editing, it is still a trustworthy built-in option. In order to get a better high-resolution screenshot experience, you can find the answer from the following article.
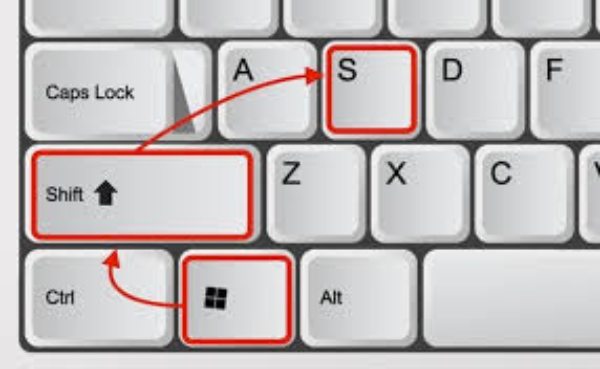
Step 1Adjust your computer screen to the screen you want to capture high-resolution screenshots, press the "Win", "Shift", and "S" key.
Step 2Drag your mouse to select a specific area to take a screenshot. For a high-resolution screenshot, choose the whole screen.

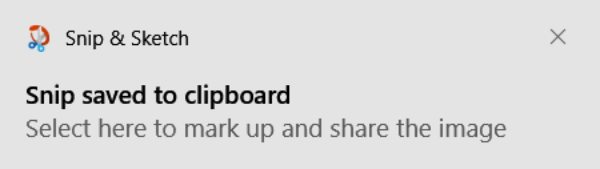
Step 3Now, you can see the notification on the right under your screen, meaning that the high-resolution screenshot is saved to your clipboard.
How to Take High-Resolution Screenshots on Mac
If you want to take high-resolution screenshots on Mac, the steps are basically the same as on Windows 10 & 11. You need to adjust the resolution of your Mac screen first in order to take screenshots with Mac screenshot shortcut smoothly. If you don't know how to adjust to a higher resolution on Mac, you can follow the steps below:
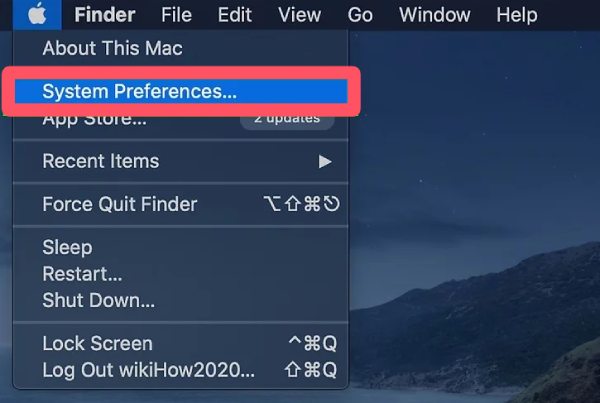
Step 1Click the "System Preferences..." button under the "Apple Menu" tab.
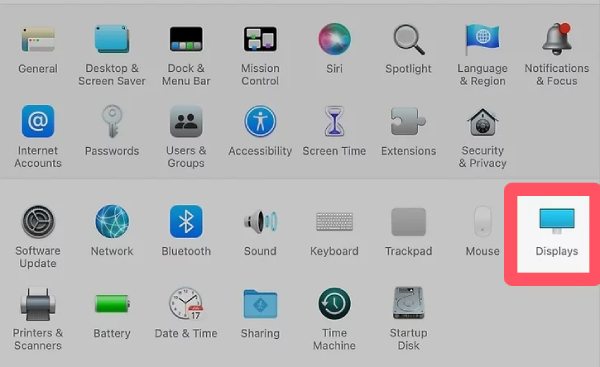
Step 2Click the "Displays" button from the System Preferences window.
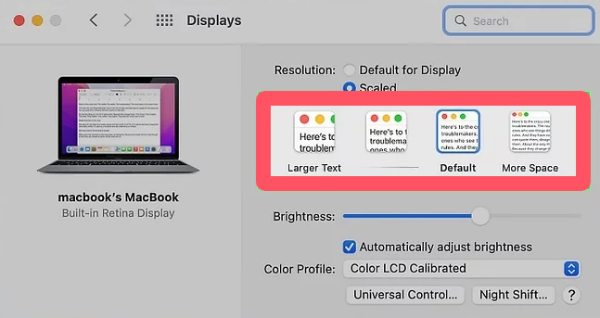
Step 3Under the "Resolution" tab, click the "Scaled" button to choose a higher resolution for your Mac screen.
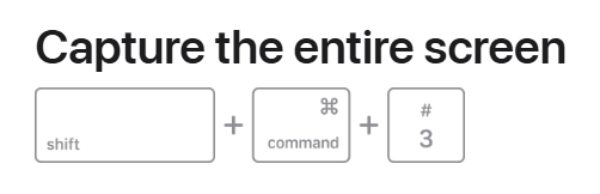
After completing the above settings, you can quickly take a high-resolution screenshot through the built-in screenshot shortcut key of Mac. You can press the "shift", "command", and "3" keys to capture the whole screen on Mac and save it as a high-resolution screenshot.
The Best Way to Take a High-Resolution Screenshots
If you want to capture high-resolution screenshots effortlessly, 4Easysoft Screen Recorder is the best tool for the job. Unlike built-in screenshot features that may degrade image quality, this professional tool ensures lossless capture with precise details, making it perfect for presentations, design work, or teaching materials. With 4Easysoft Screen Recorder, you can capture the full screen, a specific window, or a custom area at native resolution.

Another great thing about this tool is its versatility across different screen resolutions, whether you are using a 1080p, 2K, or 4K monitor. Screenshots are saved in high-quality formats such as PNG, BMP, and JPEG, ensuring clear and detailed results without compression. Whether you are a professional who needs high-resolution images or a regular user who wants clear, detailed screenshots, 4Easysoft Screen Recorder is the ideal solution.

Capture high-resolution screenshots effortlessly and quickly.
Ensure lossless capture of your screen with precise details.
Capture specific windows or custom areas at native resolution.
Screenshots are saved in high-quality formats like PNG and JPEG.
100% Secure
100% Secure
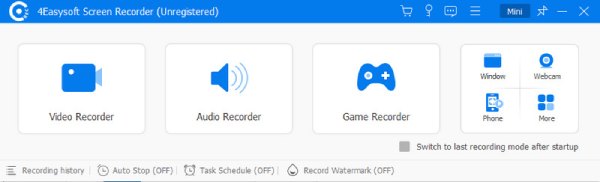
Step 1Launch 4Easysoft Screen Recorder and switch your screen to the scene you want to capture.
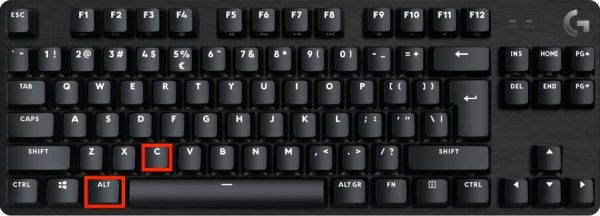
Step 2To use the hotkeys for taking high-resolution screenshots, press the "Alt" and "C" keys on your keyboard.
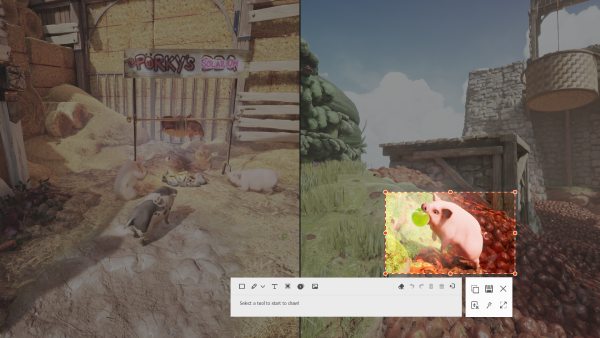
Step 3Now, you can take a high-resolution screenshot by selecting the area and save it by clicking the "Save" button.
Conclusion
Overall, taking a high-resolution screenshot on your computer, whether it is Windows 10 & 11 or Mac, is not a difficult task. By simply setting your computer screen resolution, you can quickly solve this hassle in various ways. If you want to ensure that your screenshots are high-resolution and can be edited, then download and use 4Easysoft Screen Recorder now!
100% Secure
100% Secure