Content
Start
Download & Install
Download DVD Ripper and then follow the instructions to install the program on your computer. After that, you can launch it on your computer at once.
Register
When you have launched the program on your computer, you can see the difference between the free version and the registered version.
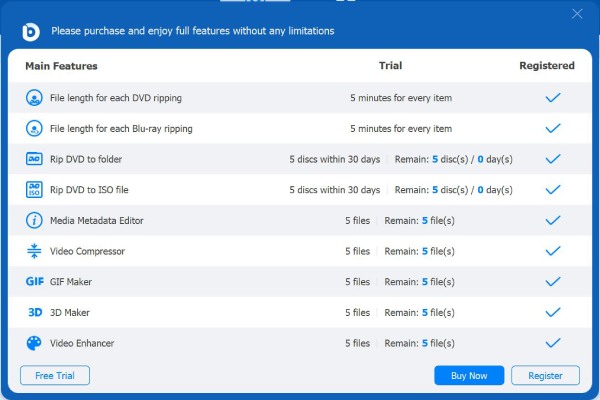
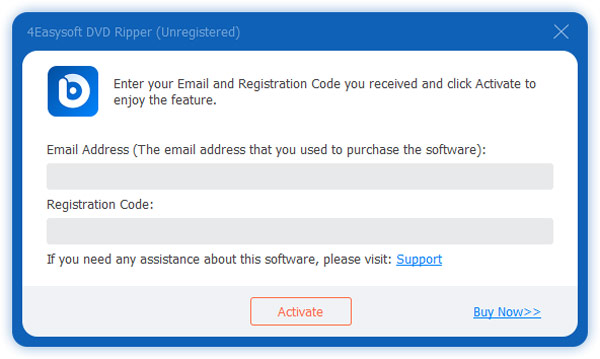
If you want to enjoy the full features of the software, you can register the ripping software. Click the Register button from the comparison window, input your email address and registration code, and click Activate to register. Then, you can unlock all the features.
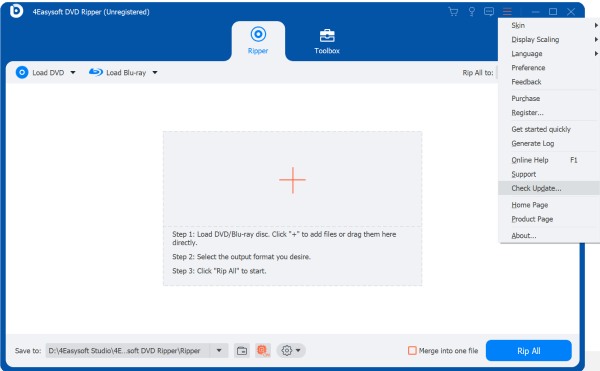
If you cannot see the register button, you can find Register from the drop-down list of the menu at the top.
Email Address: You use the email address to purchase the software.
Registration Code: A string of characters marked as Activation Key, license code in the order confirmation letter you received after the successful purchase.
Update
DVD Ripper offers free updates for registered users to fix the bugs and improve the features. You can choose either to upgrade the DVD ripper manually or automatically to get the latest experience.
Method 1: Click the Menu option and select the Check Update option. If you need to update, you can download the new version and install the program at once.
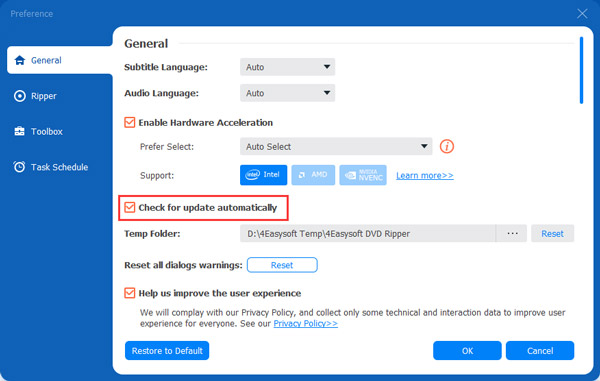
Method 2: Choose the Preference menu under the menu to go to the General tab by default. Now you can check the box of Check for updates automatically. Next, you will receive an update notification when you can update.
Method 3: You can also explore the official page to download the latest version.
Preference
If you want to use this DVD ripping software easily, you can customize your settings by tabbing Preference under Menu. Here we will give you 4 types of settings according to your preference.
General
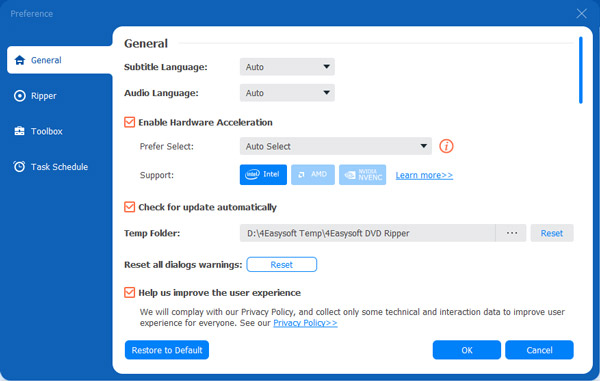
When you enter the General tab, you can choose the ripping subtitle language, audio language, GPU acceleration, update option, etc.
Ripper
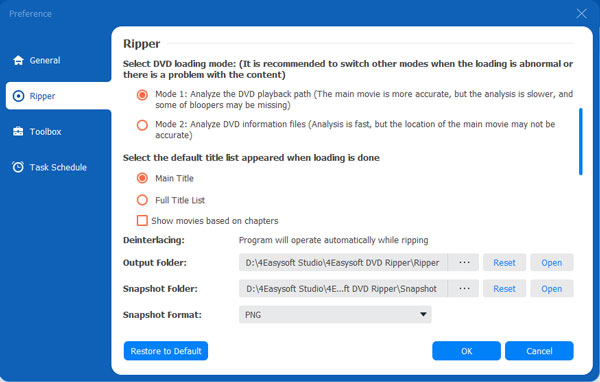
Then you go to the Ripper tab, where you can select the output folder, snapshot folder, settings for adding the subtitles and audio, and so on.
Toolbox
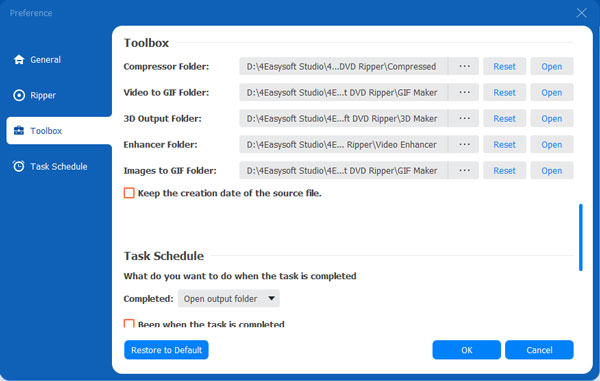
Go to the Toolbox tab, where you can choose the output folder for the compressed files and GIF-created folder.
Task Schedule
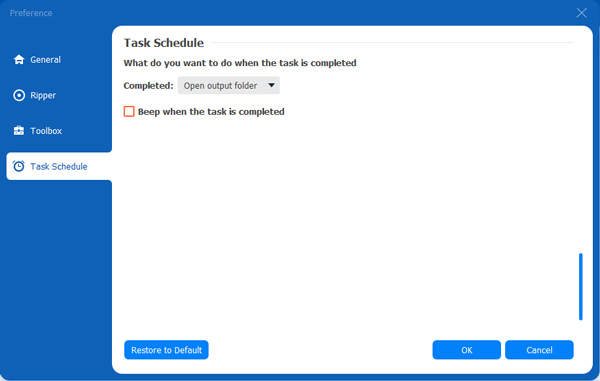
Navigate Task Schedule, you can choose to open the output folder or shut down the computer or others when the ripping task has been done.
Rip Homemade DVD
DVD Ripper is a homemade DVD ripping software you can easily use. You can rip any digital format with only 3 steps from the DVD disc, DVD folder, and ISO file.
Step 1 Load DVD files
When you launch the program, click Load DVD to choose Load DVD Disc, Load DVD ISO, or Load DVD Folder from the three dots options.
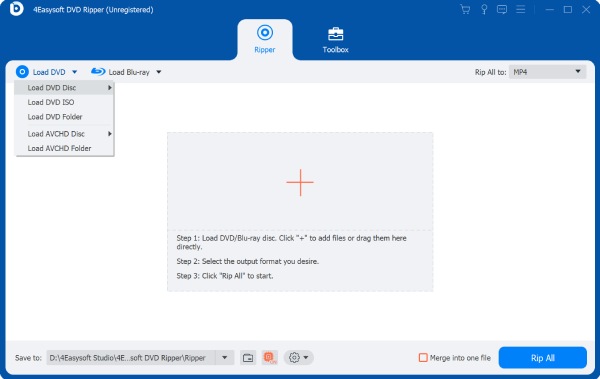
You should insert a DVD into the DVD drive on your computer when you want to rip the DVD disc.
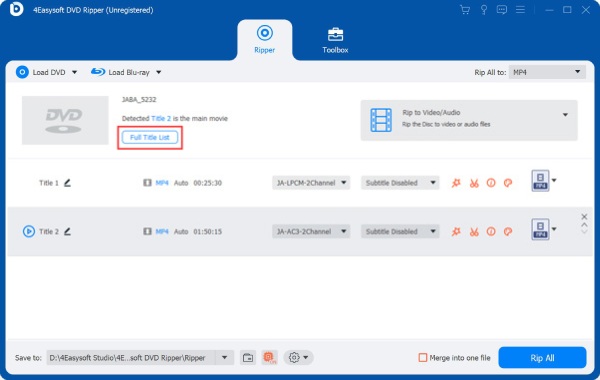
Next, it will load the main title of the DVD files without your operation. But you can also click the Full Title List to load the selected titles.
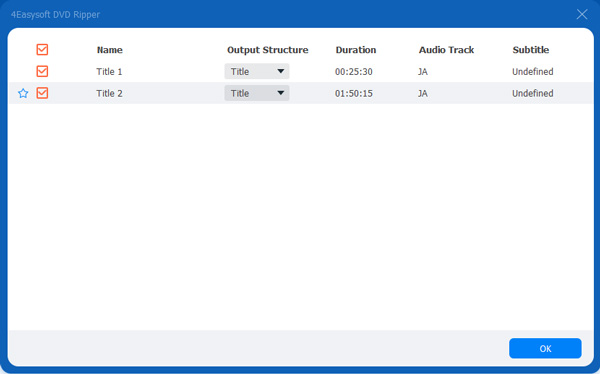
Next, all the titles will be shown. You can check the box of the titles you want to add, and then click the OK button to confirm your selection.
Step 2Select the output file
We provide 3 types of options for the output file: Rip to Video/Audio, Rip to DVD Folder and Rip to DVD ISO File.
If you want to rip DVD to folder, you can select Rip to DVD Folder from the drop-down list.
Rip DVD to ISO File
Likewise, you can check the option of Rip DVD to ISO file and click the Rip All to confirm.
Rip DVD to digital format
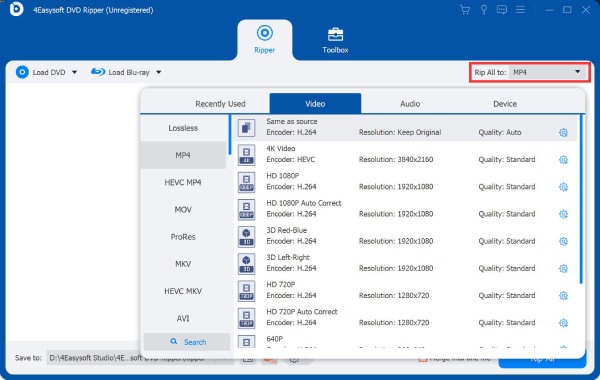
If you want to rip DVD to the digital format, select Rip to Video/Audio and choose the output format at the upper right side of the program next to Rip All.
We recommend you the format for the output is MPG Lossess, for it will keep the original quality and subtitle and audio tracks of the DVD file.
Also, you can convert DVD to other video or audio formats for playback, such as MP4, MOV, WMV, MP3, and so on. To do this, you can select the output format from the drop-down menu of the output.
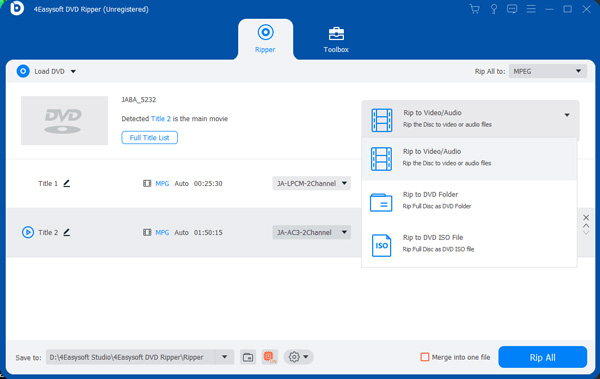
Tips: You can choose the output format for each title to rip every title into a different format. But you can’t maintain all the DVD subtitles, audio tracks, and quality with the ripping speed.
Step 3Rip DVD
After the output file has been customized, you can click Rip All at the bottom right corner of the program to rip the DVD right away.
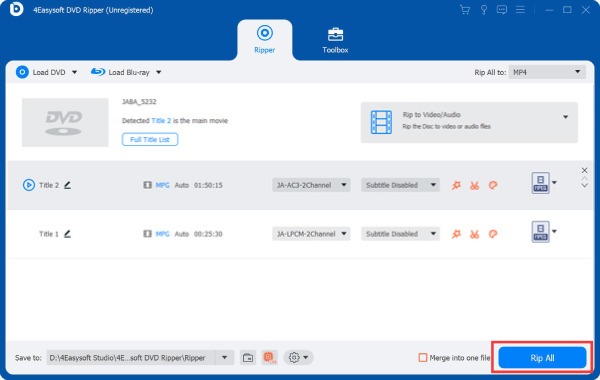
Edit DVD Titles
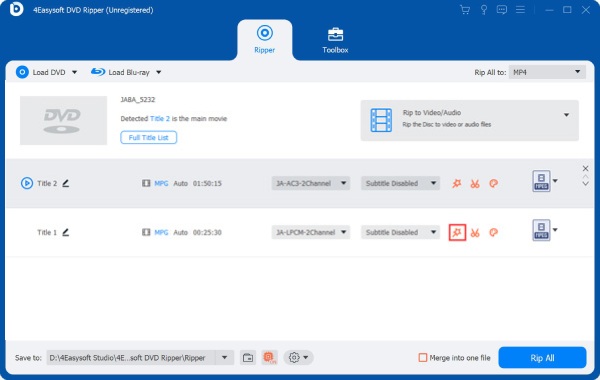
When you want to start ripping DVDs, the software allows you to edit the DVD titles. You can click the edit button in the main interface. Just click the Rip All button at the bottom right to finish editing.
Tips: if you want to apply the editing effects, you should choose other formats rather than MPG Lossless, because it will provide you with more benefits.
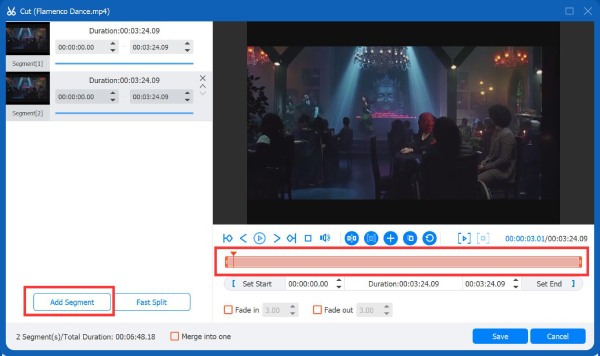
Trim & Split Video
The main interface might be too long for you to play, but you can just use the trim feature. First, you can create a new segment, split one long file into two, copy and create a new segment again. Dividing one video file into several clips on average will be better for your video editing, and DVD Ripper will help you do so. You can just click the Save button at the bottom right to finish the split.
Rotate & Crop Video
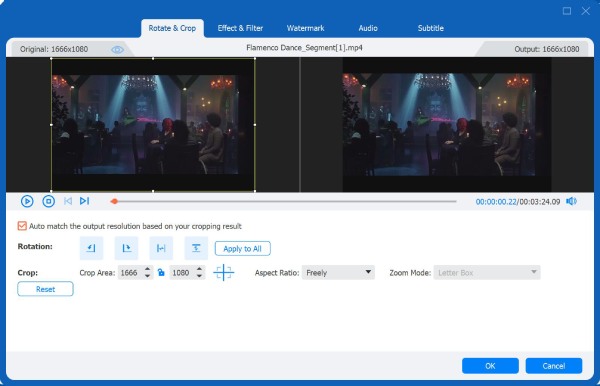
When you have clicked the editing icon, you just go to the Rotate & Crop tab by default. You can first set the cropping area value or drag the frame border to crop the DVD titles to fit your preference. Moreover, you can choose a zoom mode from Full, Letter Box, or Pan & Scan.
For the sideways movies, you can also use the rotate feature to rotate the titles in 90 counterclockwise or clockwise. To create the mirror videos you can use the flip feature. Finally, click the OK button at the bottom right to finish.
Adjust Video Effect & Filter
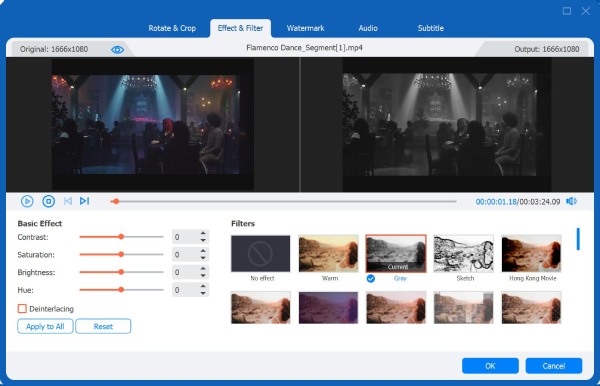
Filters provide you with various DVD title styles to select. You can just go to the Effect & Filter tab, where you can choose different filter effects, such as Gray, HongKong, Sketch, Warm, Modern, etc.
Alternatively, you can choose to change the title effects manually through the setting of brightness, contrast, hue, and saturation according to your needs. You can either move the slider or change the number. Finally, click the OK button at the bottom right to finish.
Add Watermark to Video
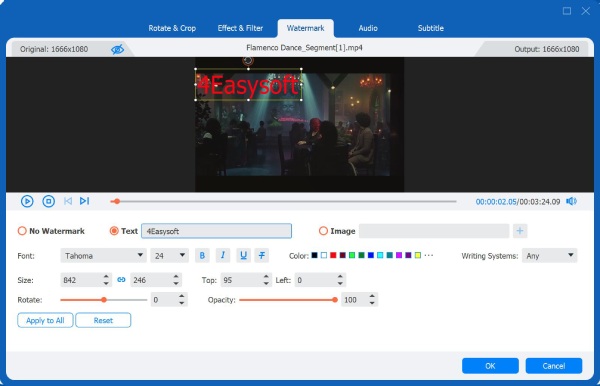
When you want to share the ripped DVD titles with others, you can add your watermark to protect your work. You only need to navigate to the Watermark tab, where you can select to add text or image watermark into the title. There are also options for you to adjust the font size, font style, font color, front position, opacity, and so on. You can also alternate the position, size, and other things for the image watermark. Finally, click the OK button at the bottom right to finish.
Edit Audio Tack
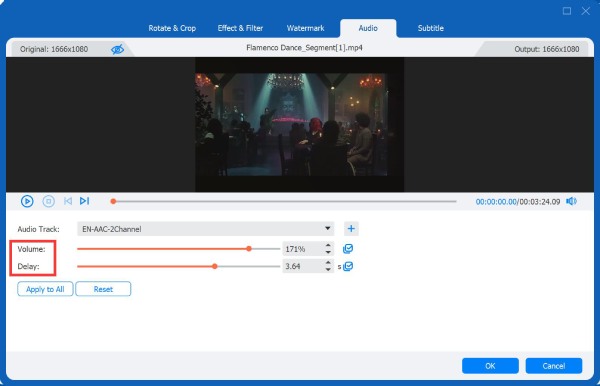
Go to the Audio tab, where you can choose an audio track for the ripped DVD file, or silence it. What’s more, if you want to create another new-style video, you can add one or more audio tracks into the DVD title. You can adjust the slider to change the Volume and Delay. Finally, click the OK button at the bottom right of the window to finish editing.
Edit Subtitle
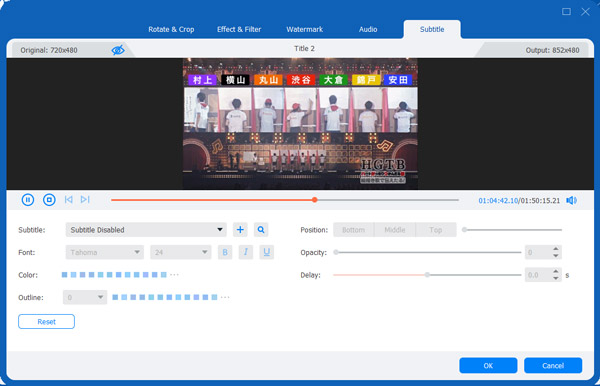
For the case where the subtitle is not synchronized with the DVD video, you should download the subtitle and exchange it. To do this, you can go to the Subtitle tab, add a new subtitle and delete the old one. You can customize your subtitle by adjusting the position, opacity, size, font style, color, and so on under the video.
Merge Video Clips
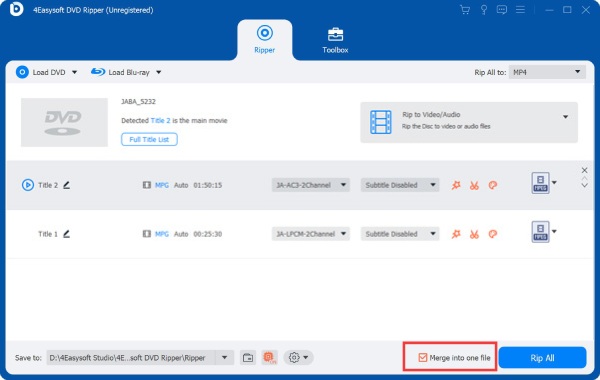
When you want to combine the short titles into a long one, you can use the merge feature. First, you can select the titles you want to merge, and then check the box of Merge into one file next to Rip All. Then, wait for the titles to merge into one.
Toolbox
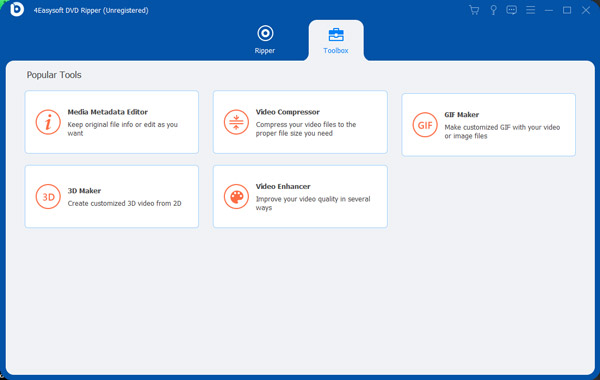
Toolbox is an extra function of the DVD Ripper. With this tool, you can regard it not only as a DVD ripper but also as a multi-function media editor. Just navigate the Toolbox tab, where you can compress the large video file size, edit the metadata information for video and audio, create GIF images from the video, create 3D videos, and enhance the video.
Media Metadata Editor
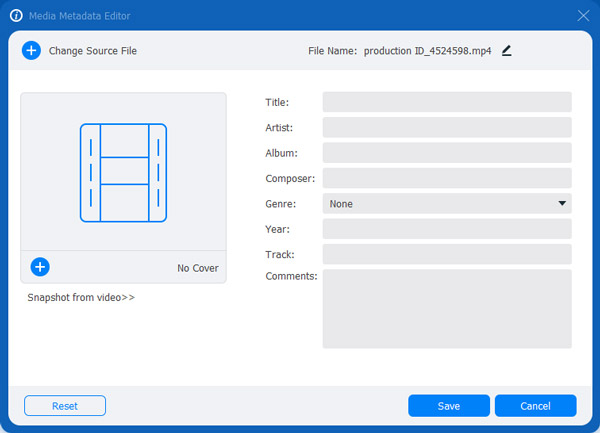
While using a media metadata editor, you can keep original file information or edit the file according to your needs.
Step 1Add video file
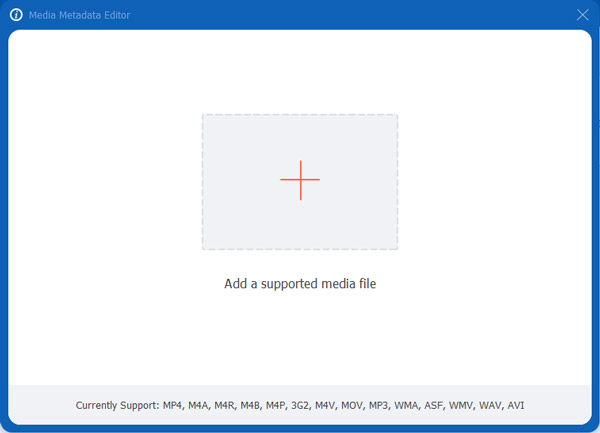
Select the Media Metadata Editor in the Toolbox and click the plus icon to add the video file you want to edit. The editor support MP4, M4A, M4R, M4B, M4P, 3G2, M4V, MOV, MP3, WMA, ASF, WMV, WAV, and AVI.
Step 2Edit metadata information
After you have imported the music or video file, you can now edit the ID3 tag or the video information like album, composer, genre, year, and so on. Then, click the Save button at the bottom right corner of the program to finish editing.
Video Compressor
When you want to upload a video file online or send a video by email, you need to compress the file sometimes.
Step 1Add video file
Click the Video Compressor in the Toolbox and click the plus icon to add the video file you want to compress.
Step 2Compress video file size
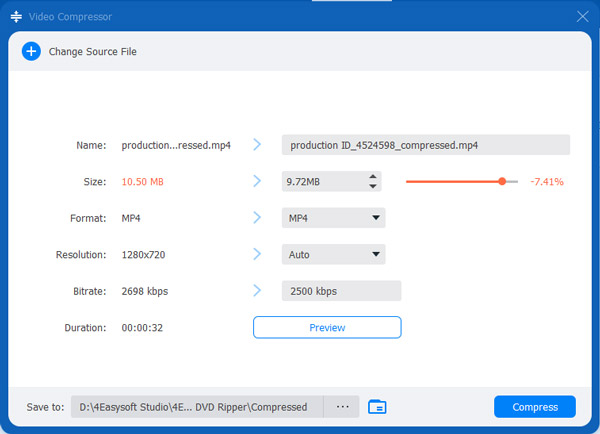
Adjust the threshold slider or directly change the number to set the size of the file, choose the output format by clicking the drop-down button, select the resolution by clicking the drop-down button, and bitrate to compress the file size as you like. You can click the Preview button to see the effect, and finally, click Compress at the bottom to finish the process.
GIF Maker
To create an animated GIF image from a funny video, you need this tool to please you.
Step 1 Add file
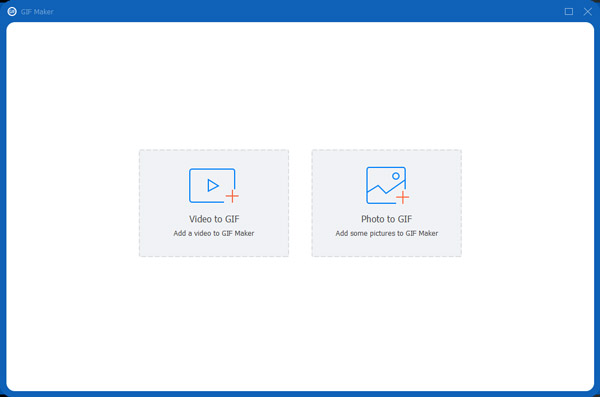
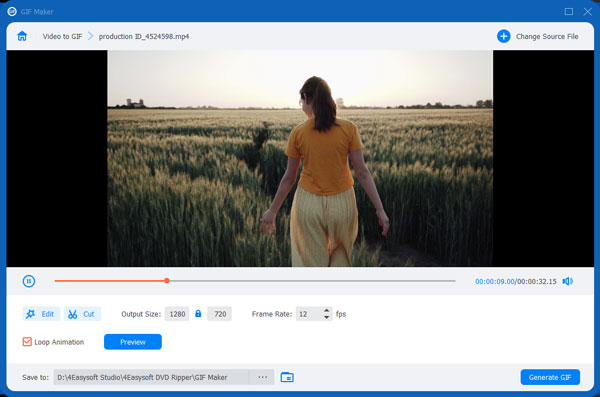
Click the GIF Maker in the Toolbox and click the plus icon to add the video you want to create GIF from.
Step 2Turn video to GIF
Click Edit button to edit the video effects and the Cut button to cut down the segments of the video you don’t want. Then, you can adjust the output size and frame rate under the video. You can also check the box before Loop Animation. Click the Preview button to see the effect and click the Generate GIF at the bottom to create your work.
3D Maker
3D Maker allows you to create stylish 3D videos and apply various visual effects you like.
Step 1 Add a video file
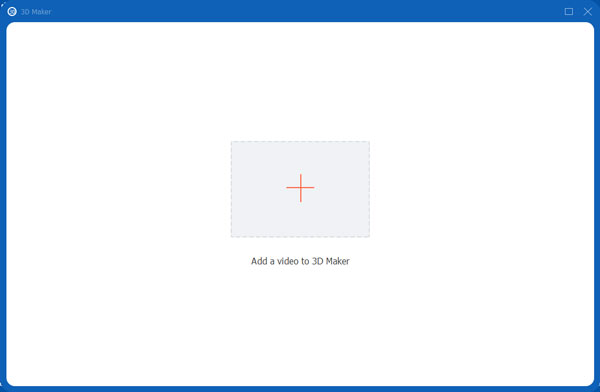
Enter the 3D Maker in the Toolbox, and click the plus icon to add your video to 3D Maker.
Step 2 Create a 3D video
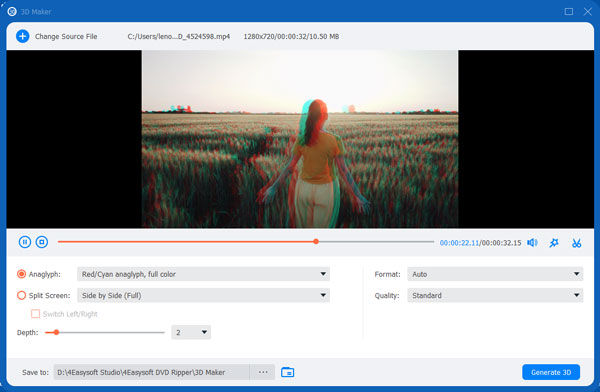
After you have uploaded the file to the program, you can choose the anaglyph from the pre-set templates, and choose tosplit-screen, like side by side. You can also set the format and quality of the produced video. Move the slider to adjustthe depth or directly choose the number beside. Finally, click the Generate 3D at the bottom right of the program togenerate your 3D video.
Video Enhancer
With this tool, you can improve video quality by resolution upscaling, brightness and contrast optimizing, denoising, and stability improving.
Step 1 Add a video file
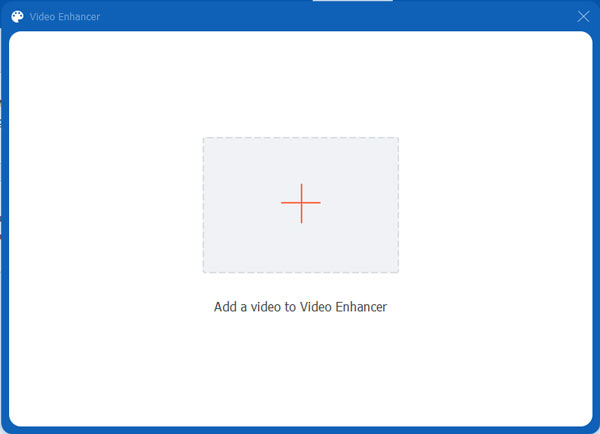
Enter Video Enhancer in the Toolbox and click the plus button to add a video to Video Enhancer.
Step 2 Enhance the video quality
In the Video Enhancer window, you have four options to improve the quality of your video file: Upscale Resolution, Optimize Brightness and Contrast, Remove Video Noise, and Reduce Video Shaking. You can choose the settings you like to enhance your video.
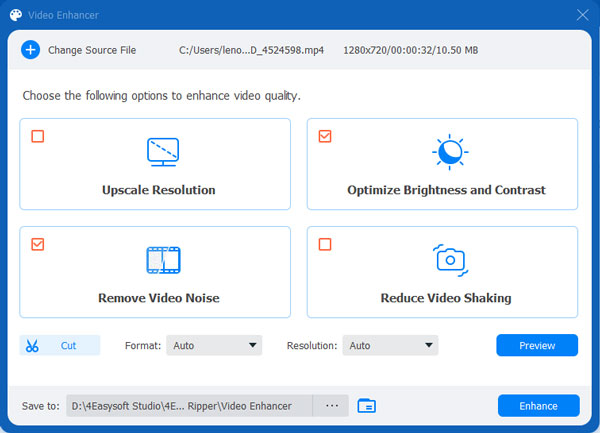
Then, you can choose the output format and resolution. You can also click the Preview button to see the effect in advance. You will enter a small window to preview the enhanced video. But you should remember only 10s are available to see.
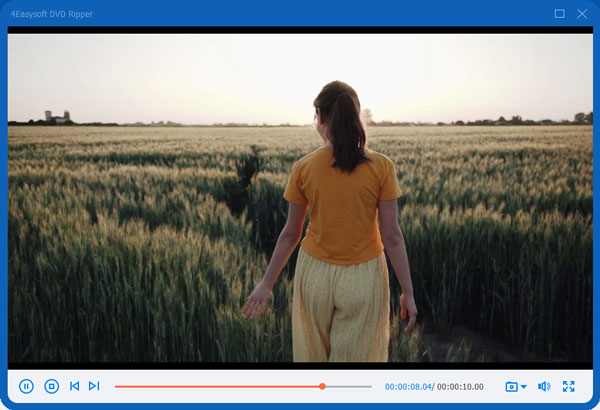
In the end, click the Enhance button at the bottom right to export your work to the computer.
 For Windows
 For Mac
 Free Online Solutions
